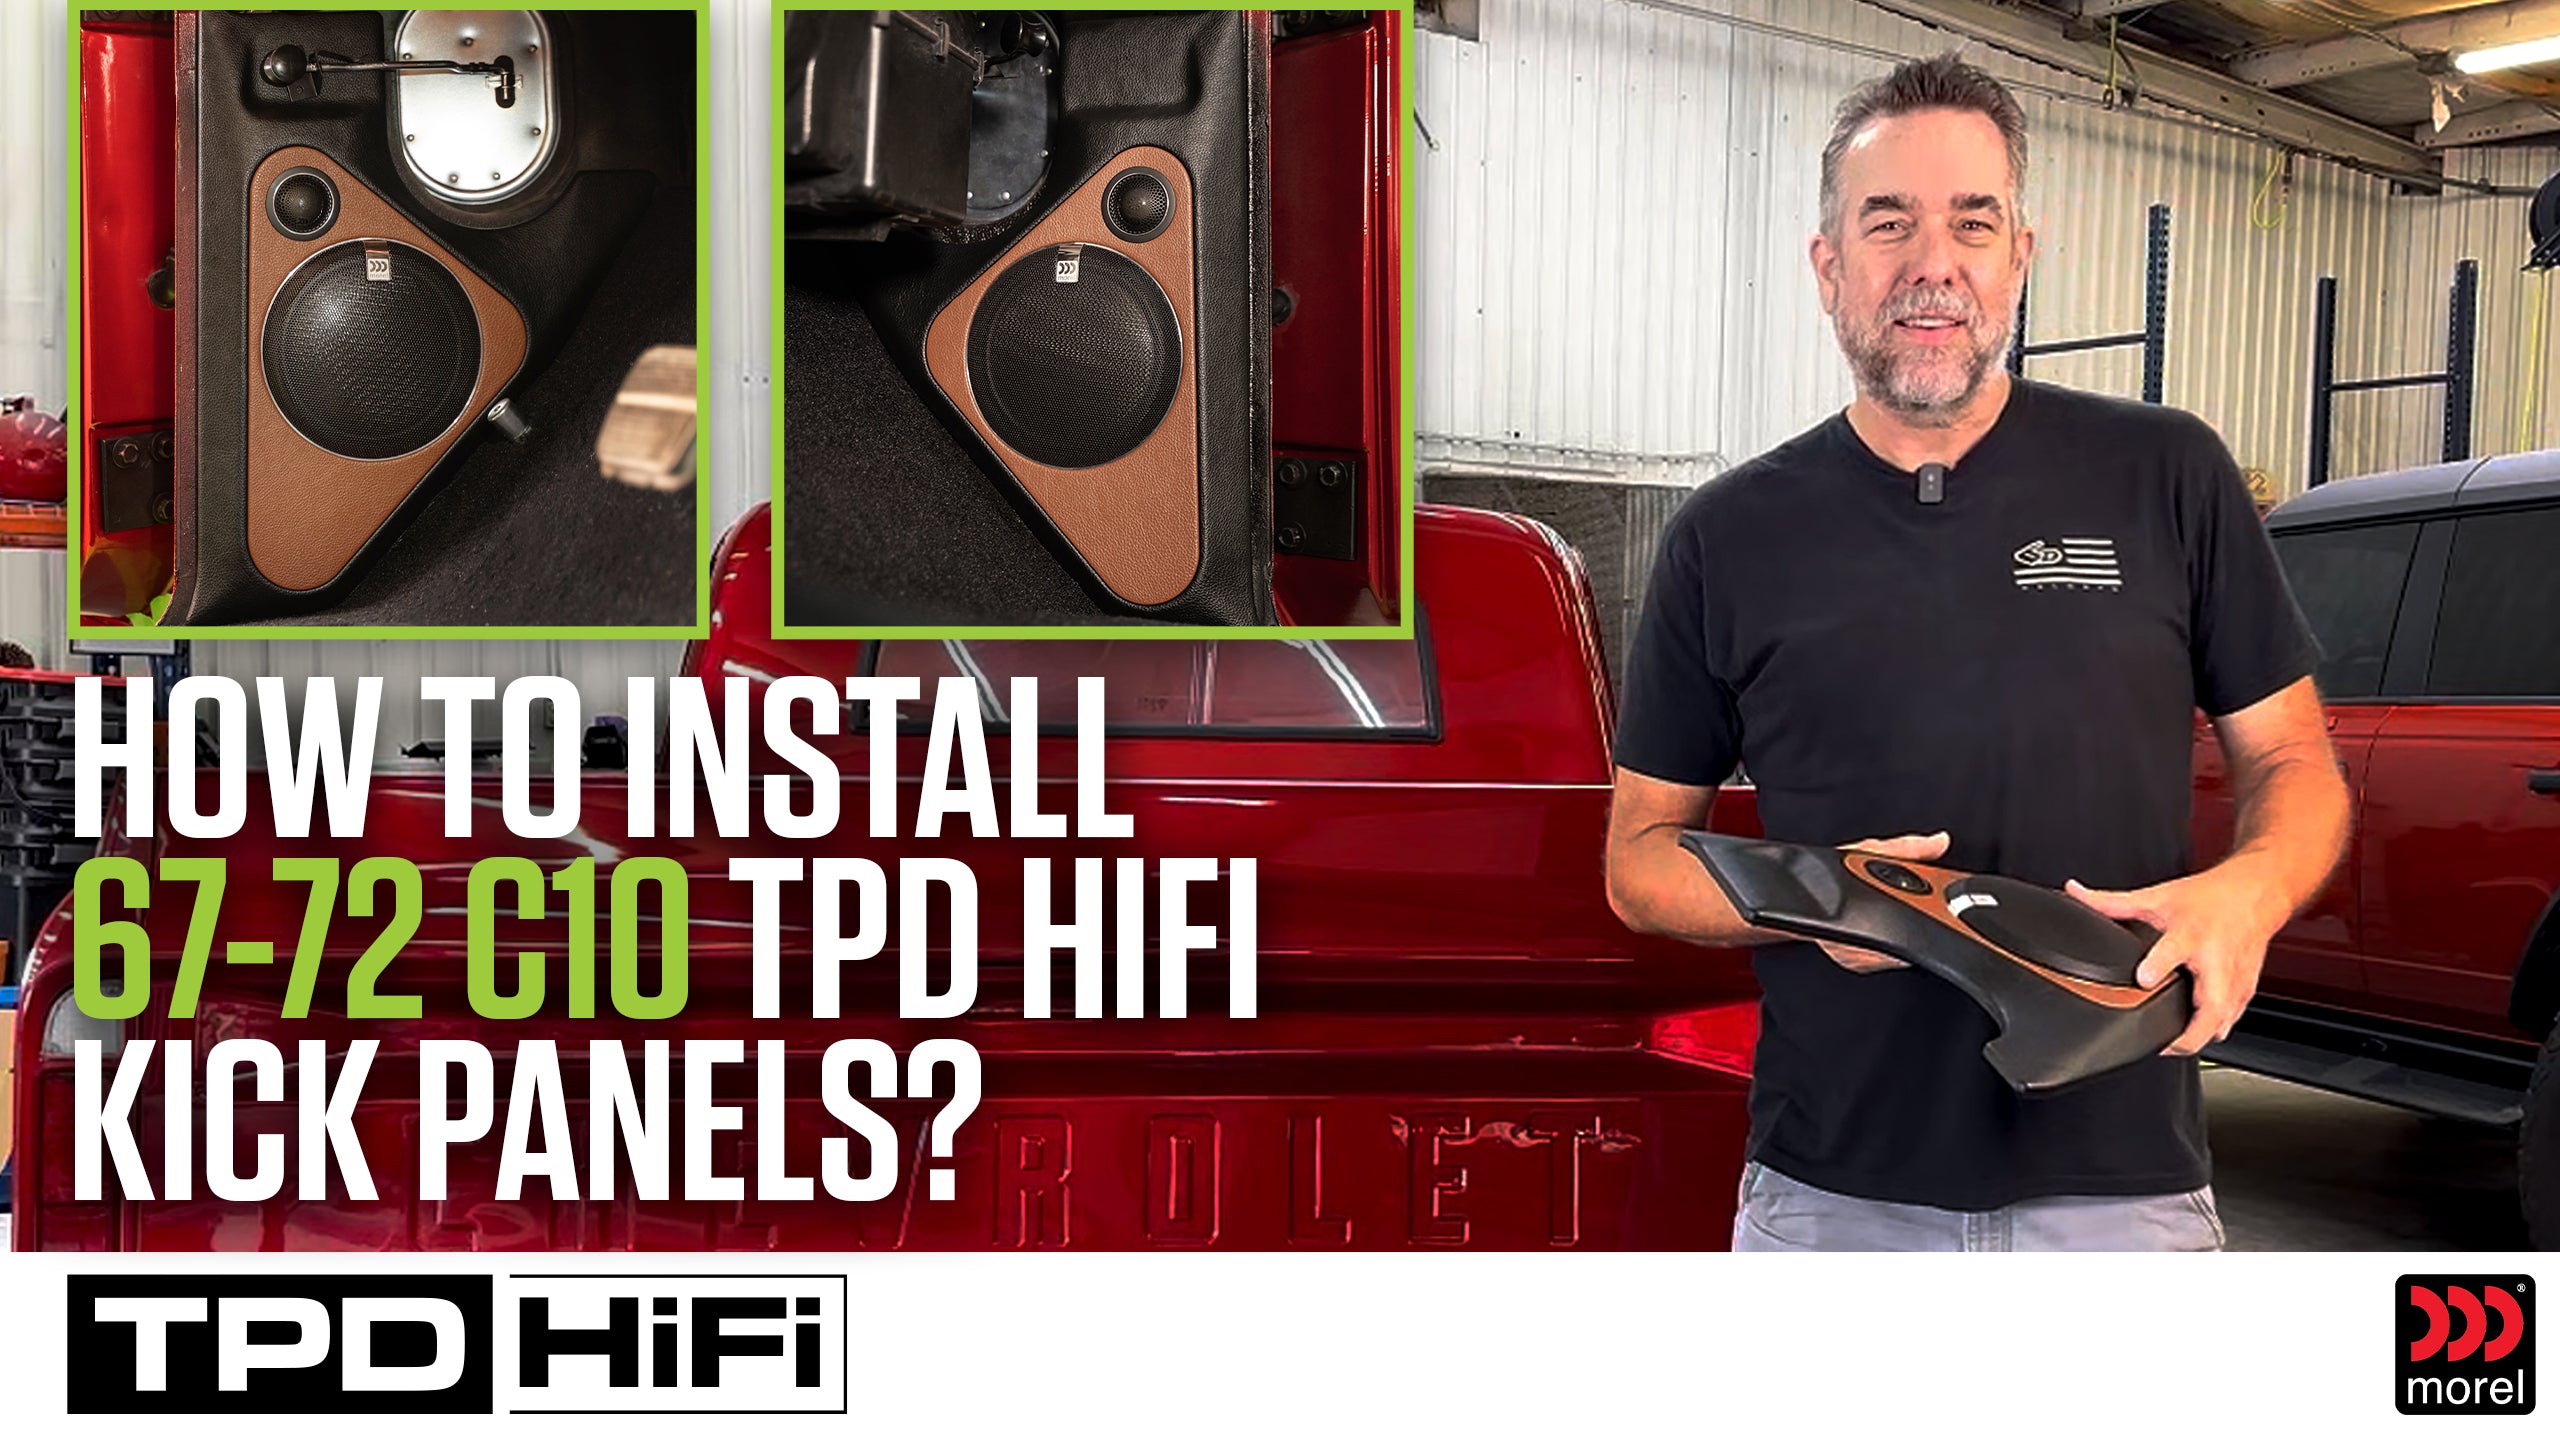
Are you ready to elevate the audio experience in your classic 1967 C10? Look no further! Today, we’ll guide you through the step-by-step installation of TPD HiFi custom kick panels, designed specifically for this timeless truck. These kick panels are compatible with C10 models from 1967 to 1972. Our installation guide also features the renowned Morel Virtus Nano Carbon 62 two-way speaker system, celebrated for its shallow subwoofers and exceptional sound quality.
Tools and Materials Required
Before starting, gather all necessary tools and materials to ensure a smooth installation process:
Tools:
- Cordless Drill
- 1/8" Drill Bit
- Painter's Tape
- Wire Crimper
- Wire Strippers (multiple sizes)
- Scissors
- Electrical Tape
- Number 2 Phillips Screwdriver
- Straight Pick Tools
- Sound Deadening Roller
Materials:
- #8 x 1" Screws (included with kick panels)
- Sound Deadening Material
- Custom kick panels
Step 1: Prepare for Installation
- Gather Tools and Materials: Ensure all required tools and materials are within reach to avoid unnecessary trips.
- Run Wires: Run the speaker wires from the amplifier to the kick panel locations. Ensure they are long enough to reach the speakers.
Step 2: Wire Termination
- Terminate Woofer Wires: Use appropriate connectors for the woofer and tweeter wires. For the Morel Verce Nano Carbon 62, use 1/4" connectors for the woofer and 2mm or 12mm connectors for the tweeter.
- Strip and Crimp Wires: Strip the wires and use crimpers to secure the connectors.
Step 3: Position and Pre-Drill Kick Panel
- Remove Fresh Air Vent (if applicable): For 1967-1972 C10 models, remove the fresh air vent if it's in place.
- Position Kick Panel: Align the kick panel on the driver's side. You may need to relocate the high-low dimmer switch slightly to the right to make room.
- Mark Mounting Holes: Use the kick panel's mounting holes as a guide and mark the positions on the vehicle body.
- Pre-Drill Holes: Use a 1/8" drill bit to pre-drill the holes for the screws.
Step 4: Apply Sound Deadening Material
- Remove Kick Panel: After marking and pre-drilling the holes, remove the kick panel.
-
Apply Sound Deadening Material:
- Test Fit: Place the sound deadening material in the desired location and ensure it fits properly.
- Remove Backing: Peel off a portion of the backing to expose the adhesive.
- Position Material: Align and position the material, then gradually remove the remaining backing while sticking the material in place.
- Roll to Secure: Use the sound deadening roller to smooth out any wrinkles and ensure the material adheres firmly to the surface.
Step 5: Final Kick Panel Installation
- Reposition Kick Panel: Place the kick panel back into position, ensuring the wires run through the designated channels.
- Secure with Screws: Insert and tighten the #8 x 1" screws to secure the kick panel in place.
-
Connect Speakers:
- Woofer Wires: Connect the larger connectors to the woofer terminals.
- Tweeter Wires: Connect the smaller connectors to the tweeter terminals. Use electrical tape to insulate the connections if necessary.
Step 6: Install Passenger Side Kick Panel
- Repeat Steps for Passenger Side: Follow the same process for the passenger side kick panel. Position, pre-drill, apply sound deadening material, and secure the panel in place.
Final Check and Adjustment
- Verify Wire Connections: Ensure all wire connections are secure and properly insulated.
- Test Sound System: Before finalizing, test the sound system to ensure everything is functioning correctly.
- Reinstall Fresh Air Vent: If removed, reinstall the fresh air vent.
Conclusion
By following these steps, you can successfully install TPD Hi-Fi custom kick panels and the Morel Virtus Nano Carbon 62 two-way speaker system in your 1967 C10. This installation not only enhances your audio experience but also maintains the vehicle's interior aesthetics with custom-wrapped panels matching the existing materials. Enjoy the superior sound quality and the professional look of your newly installed audio system.


Share:
TPD HiFi and Rick's Truck Shop: Bringing Premium Sound to a Classic 1966 C10 Pickup
Achieving Audio Perfection: Morel Virtus Nano TPD HiFi Kick Panel Tips